
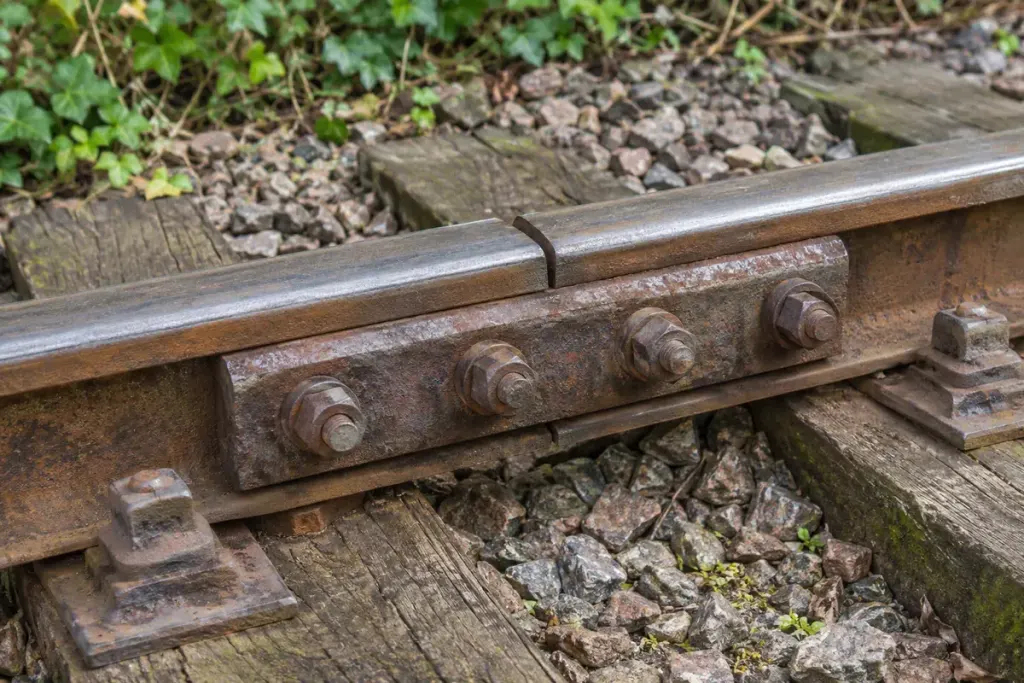
A railway rail can look continuous from a distance. In a museum display of jointed track, a closer view reveals two ends held in alignment by metal plates and bolts. The connection is substantial, but the meeting between the rails remains a distinct part of the assembly.
The Science Museum Group’s Markham joint-chair exhibit records two short rail lengths, a pair of fishplates and four bolts. It provides a concrete example to examine without treating every railway joint as identical.
Read the object in layers
First find the rail ends. Then identify the plates alongside the rails and the fasteners joining the assembly. Finally, look at how the rail is supported below. Separating those features helps avoid calling every piece of metal a “joint” or confusing a supporting chair with a connecting plate.
A sketch can be more revealing than a quick photograph. Draw only the visible relationships, and use a question mark where the far side is hidden. Do not invent an unseen bolt or assume the display contains every part of an operating installation.
Follow the catalogue evidence
Record the museum’s object number and wording alongside your own observations. A maker’s mark, date or railway abbreviation may offer a research lead, but it does not automatically date the whole display or prove where every component was used.
For a Montana railway-history project, a British museum example can help explain the vocabulary. It should not be presented as evidence that a particular Montana line used that exact design. Route-specific claims need local photographs, engineering records or a documented surviving object.
Study joints only from lawful public locations or supervised exhibits. Active tracks are not a place for close inspection. The best historical note distinguishes what the object shows, what the catalogue establishes and what still needs investigation; that distinction makes a small piece of infrastructure useful evidence rather than just a rusty curiosity.